 |
| I take measurements from the model of the lion and mark the outline of the lion's head on the stone. This shows me where I can safely remove stone though I will cut wide of the mark. |
 |
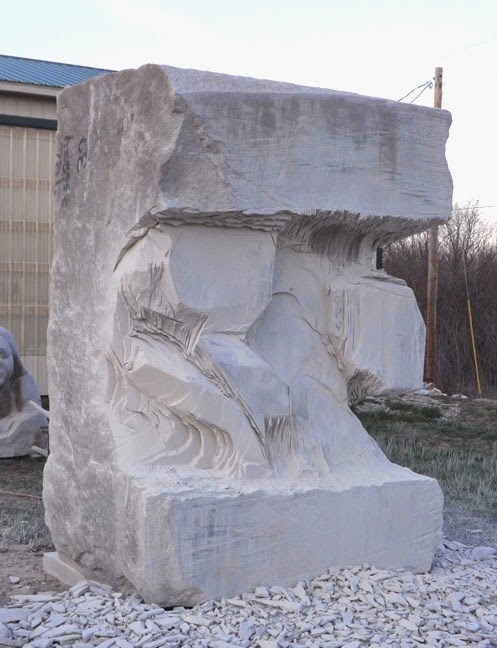
| The sculpture looks really strange at this point, not at all like a lion, maybe some big bird. I am cutting the stone in somewhat thin slices for removal as I am having some trouble with carpal tunnel (I am wearing a wrist brace) and it is bothered by too much force from the hammer I use to knock off sections of stone. A thinner cut requires a lighter tap to remove. |
 |
| It really looks like a bird from this angle. |
 |
| I grind over the cuts I made into the stone so I can better "read" the sculpture. The outline of the Lion is there but it is very flat at this point. I will make measures from the model at well as sight-size to make sure of areas of stone that need to be removed. Sight-sizing is holding up the model so that the model and sculpture are the same size to the eye and then comparing where different parts of the sculpture are and to see where stone needs to be removed. A smaller model (12:1) helps in this as it is fairly easy to hold up, a 4:1 model can be difficult and cumbersome |
 |
| I begin to form the head of the lion, grinding off corners and beginning to cut the planes of the head. This is a technique I am most comfortable with as this is how I started carving stone - I would begin with the nose and work my way back into the stone. I didn't have a great deal of strength then and had just begun using power tools so it was the easiest and safest way to create a sculpture. It also takes the guesswork out of the carving - as you follow the form of the nose back everything else falls into place. |
 |
| I have started to define the head (though it is on the large side am beginning to define the neck and shoulder. |
 |
| I use a crayon to mark the area that needs to be removed to get back to the shoulder. |
 |
| I have removed some of the stone from under the neck using a grinder then cut across it to get a clean surface. Lots of stone needs to be removed from over the Lions neck.. The markings on the face show areas I need to remove and planes I need to strengthen. |
 |
| I have used grinders to remove stone from over the lions head. This is fairly difficult as I have to reach back into the stone as well work almost over my head - my arms get fatiqued quickly. The blocking of the piece (bulk stone removal) is almost complete and that is the most boring part of the job. Now that the form of lion is emerging the work starts to get fun . |


