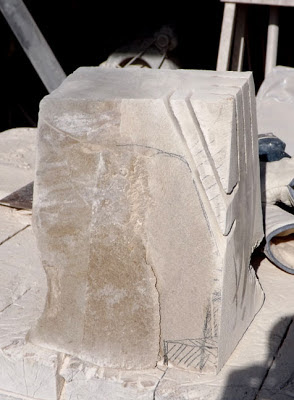
I will be using a model to carve a face in this piece of limestone. First I have to make the bottom flat.
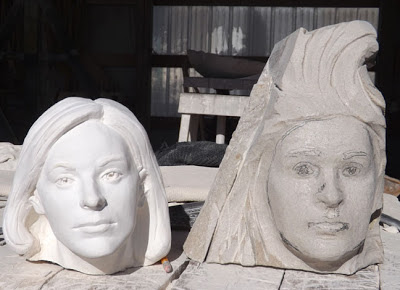
I use the 4" angle grinder with a diamond wheel to make a flat surface at the bottom of the stone. The plaster model I will be using is on the left side of the photo. I will be working on a 1-1 scale (same size) using calipers and a ruler to check volumes.
By taking careful measurements I mark the areas I can safely remove from the stone. I always cut a little wide of the mark, I can always come back and remove more stone, I can't add it back on. I am putting the face in the bottom of the stone as it is sufficiently thick there to accomodate the face, but narrows above it. Time will tell what I will do with that area.
The first cuts remove the area in front of the forehead.
I draw a tighter profile on the rock.
I cut wide on either side of the nose and cutting the basic planes of the face based on measurements I take from the model - incidentally, this plaster casting is from the bronze sculpture entitled "Light of Hope and Healing" which I created for the Hux Cancer Center in Terre Haute, Indiana.
I begin smoothing the planes and start defining features. The face is larger than it should be as I have cut wide on all measurements- Nose too big, chin too strong, etc.
I have given an indication of where the features are. I use a 4 inch grinder with a masonry blade to define most large areas and establish planes. The diamond blade is too aggressive for this work and leaves a rough scalloped surface. A pistol grip sander with 36 grit paper would work as well. A die grinder with a mounted stone is used for smaller areas around eyes and mouth.
I use a caliper to check the size of the chin on the model and then use them on the stone. I shade in the area that is too heavy with black china marker. The china marker visually removes the stone so I check to see if I want to remove all that stone. This is a photo of measuring again,after I have marked what needs to be removed, making sure I have the measurement correct!
With careful measurements the face comes into shape.
Now I have to figure out what to do with all that stone on top of the head. Swirling hair it must be. I decide it is a woman underwater, her hair flowing around her head.
I further define the features of the face while I try to figure out what to do with that hair.
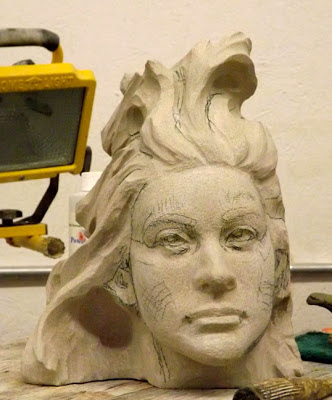
I use use an angle grinder to create the main movements through the hair and a die grinder with a mounted stone to carve out deep areas. Small burrs are used on the die grinder to define eyes nose and mouth.
She's getting there though she still needs refinement....I'm not trying to make a duplicate of the plaster original, it's just a good starting place.
Inside I mark the areas I want to define with black china marker and put her aside.


No comments:
Post a Comment